Monday, June 4, 2012

On The Workbench 6/12

May was one of those months that puts truth to the saying "The best laid plans of mice and men often go astray".  I fully intended to go on a blitz last moth and finish a bunch of small projects. It didn't happen. Between the hobby cave flooding, due to torrential rains, family emergencies and obligations, and a temporary change in my work schedule not much got done.  When I did have time to paint, the motivation to do so was not there.  All month long, I managed to fully paint just 9 minis, with another 20 or so primed up with smatterings of paint on them.  Thank God for scheduled posts, or I wouldn't of even had any postings last month at all.  Oh well these things happen.

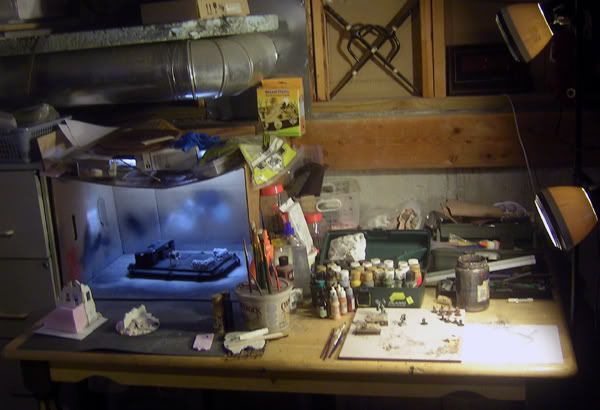
The work schedule will be back to normal in a week, family emergencies are still happening (Mrs. FF is in Arkansas right now dealing with one), and the Hobby Cave has been (hopefully) water proofed.  I am going to try to get back into the swing of things this week (at least an hour a day), and see how things go.  The up side of it all is that I didn't lose anything in the flooding, I didn't add anything to the "pile o' minis" and I drank a lot of beer, and Caribbean rum (the Mrs. went on a cruise and came back with 5 bottles of the good stuff) last month.


The new items and projects that I added stuff to are denoted by an * next to them.

On the Workbench for June 2012:
(This is all stuff that is partially finished; in no particular order)
27 Gnoblar Fighters - After selling the metal ones, I decided to paint up the plastics to see what I could get for them.

21 x Khurasan Zombies - 21 excellent sculpts for 15mm zombie gaming
24 x WH40 Tyrnaid Termagants - I got these in trade for the Gnoblars I painted a couple of weeks ago.
10mm Ruins Project - I got a pile of old Epic plastic ruins, which are replacing the foam core ruins I was going to build and use for my Mech Warrior project. 
4 20mm Ruins - Plastic 20mm ruins I am building for resale. 
8 Acheson ATZ Minis - More minis for paint and review.
6'x4' Zuzzy Mat - Gaming Mat for my TEOTWAWKI project. 
15 28mm PA Survivors - 3, 5 man packs from Lead Adventure Miniatures 
18 Heroclix Figs - Figures for conversion into sci-fi and horror gaming minis
6  Pulp/Steampunk Minis - 6 figures left on the commission painting of some Fiendish Fabrications figures
20 Mantic Ghouls - Mantic Ghoul Regiment 
6 28mm Survivors - Obelisck Nighthawk gang
28mm Post Apoc Ruins Project - Ruins made from Gamecraft's Foamcore 6 story building.  This one is half done.
28mm Vehicles - 6-8 vehicles for my survivors
15mm Suburbia - Paper/foamcore houses for suburban Lazarus. 
50 20mm WWII Russians - Minis for a semi defunct NUTS! East Front project I planned
2 T-34/85s - Same As Above
Various Fantasy/Sci Fi minis - I have a box of old minis I use to try out techniques and hone my skills.  I have quite a few half painted figs that I'd like to finish


May's Finished Projects/Minis 
(I will be posting these up through out the month, as I get photos and such) 

4 x Acheson ATZ Minis - 4 down, 8 to go!

5 x GWFB Gnoblar Fighters - 5 down, 27 to go!

Hedges - Quick and Easy Tutorial

Materials
Foam Padding - Electronic Packing material (free)
Woodland Scenics Course Turf (aka Flock) - From local Train Shop ($9.99/32oz Shaker)
Large Freezer Bag - Pilfered from Kitchen (free)
Spray Adhesive - From Hobby Lobby ($3.00)
Spray Matte Finish or Clear Varnish(not pictured) - From Hobby Lobby ($3.00)
Sharp Knife (not pictured)- For cutting foam
Disposable gloves (optional/not pictured) - Pilfered from work

Step 1 - Cutting The Foam
Start by cutting the foam into strips. The strips can be any size you wish. In this example, I am making hedges for use with 28mm figures. The foam strips measures roughly 4.5in x 1.25in x .5in. Cut them slightly smaller than what you want the final hedges to be; I will explain in a bit. Also, they don't need to be exactly the same size. Variation is good.


Step 2 - Texturing The Foam
Take your thumb and forefinger and start tearing chunks of foam off the strips. You'll want to do this along all the edges, and randomly across the flat sides. They should look as below:
 Step 3 - Applying the Flock
Now we need to turn the foam strips into our hedges. Fill the freezer bag about half full with the flock. In this case, I am using a 50/50 mix of Woodland Scenics Light and Medium green. One at a time, liberally apply each foam strip with spray adhesive. I wear the gloves at this point, because it can get rather messy, if you don't. It's up to you, though. Then take the foam a put it in the freezer bag. Give the bag a good shake, so the foam is completely covered with flock. This is where cutting them smaller comes into play. As it sticks to the foam, the flock will make the finished hedges that much larger than the foam. Place the hedges to the side to dry.
Sorry for the blurry pic. It's hard to get good help at 8AM on a Saturday around my house :-)


Step 4 - Finishing The Hedges
After the hedges are sufficiently dry (tacky to the touch is OK), liberally spray them with the Matte Sealer, or what ever you wish to use. I used Krlyon Oder Free/Clear Finish (the small can in the middle) that I had from a previous project. This will act to keep flock from coming off as the hedges are handled.

Basing the Hedges
At this point, the hedges are done, and ready to based as you wish. I usually base my on large craft sticks that have been finished as described in my Basing "how to" here on WTL:
Figure Basing - Basic Technique
The hedges can also be used as part of a larger display, if you wish
Finished Examples
Below, as some close of of some finished hedges (prebased) of different sizes:
w/ 28mm GW Space Marine
w/ 25mm Cowboy and 20mm Liberation Mini
All in all, it took me about 25-30 minutes (including drying times) to make the six hedges in the tutorial. This is a simple project, and is very quick and easy to do.