
Showing posts with label 28mm. Show all posts
Showing posts with label 28mm. Show all posts
Monday, April 16, 2012
Gnoblar Trappers
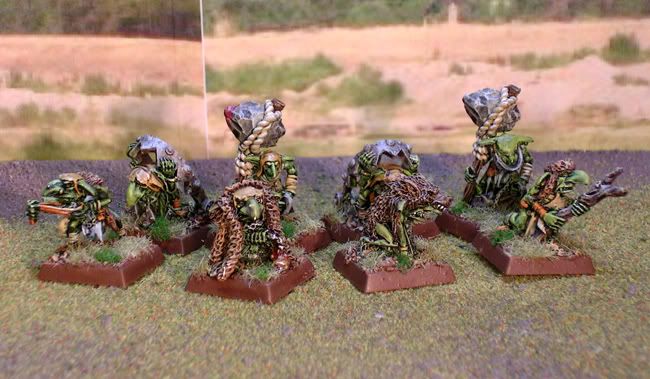
These figs were part of the group of unpainted Ogre Kingdom Gnoblars I bought at Recruits a couple of weeks ago. I posted all 42 figs (8 metal, 32 plastic) for sale, trying to get $$$ for the 2012 Fifty Cent Mini Challenge. The whole group didn't sell, so I decided to paint up some of them and see what I could do that way. Here's the results of my efforts:
 I kind of like these little guys. If I did fantasy skirmishes, or warband type games, I would definitely use them. The four figs on the front row have tons of character, and the detail on all eight is nice.

Monday, March 12, 2012
Casting My First Terrain Pieces
 For my birthday last year, my kids bought me an Alumilite Casting Kit; the really nice one. I had mentioned that I wanted to give it a try; I admit I was left scratching my head on exactly what to do with it, though. I did want to have a try at casting; I just didn't have anything in mind to cast at the moment. That was 7 months ago. Until a couple of days ago, it sat on my shelf unused.
I was mulling over filler piece ideas for my TEOTWAWKI project. One of the ideas I came up with was dragon's teeth, you know those big concrete anti-vehicle things. Nothing says war zone more than they do, right? So I set out and made a piece with three of them on it. As I was sitting there looking at it, contemplating how to paint it, I was struck with the idea that it made a perfect piece for me to try and cast, so I broke out the kit.
(This next part is going to be old hat for those who have done casting, before. My hopes are that any novices will see how easy it is and give it a try. Plus I like hearing myself talk...or type as the case may be.)
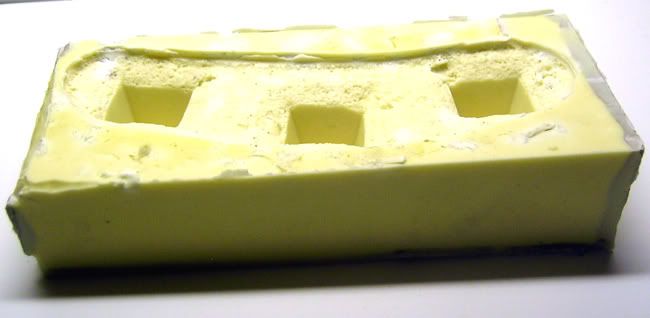 The first thing I did was make a mold. I ended up using all the RTV Rubber supplied in the kit to make the mold. RTV is short for "Room Temperature Vulcanizing"; meaning that the rubber cures at room temp; no special curing processes needed. To actually, make the mold, I made on open top box big enough to hold what was now my master. I sealed the master with clear varnish, and affixed it to the bottom of the box. I then mixed the RTVR per the instructions, and poured. I removed air bubbles that had formed when mixing the rubber, by placing the now filled mold on my table, then taking my jig saw, turning it on and holding it against the bottom of the table. The vibrations caused the bubbles to float to the surface. It would probably be easy to make a vibrating table with an old palm sander.
I was able to remove the box after about 4 hours. I let the mold cure over night. The discoloration in the pic are due to two things. The grey is the clay I used to seal the inside of the box and the white is due to not mixing the RTVR thoroughly. Neither one of which caused an issue. Next time I make a mold, I am going to use something like pink foam to act as a filler, so I don't use as much RTVR.
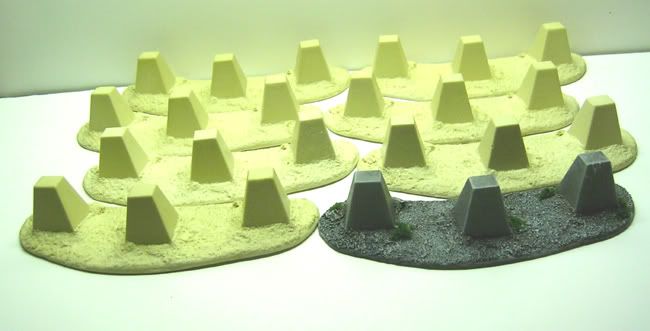
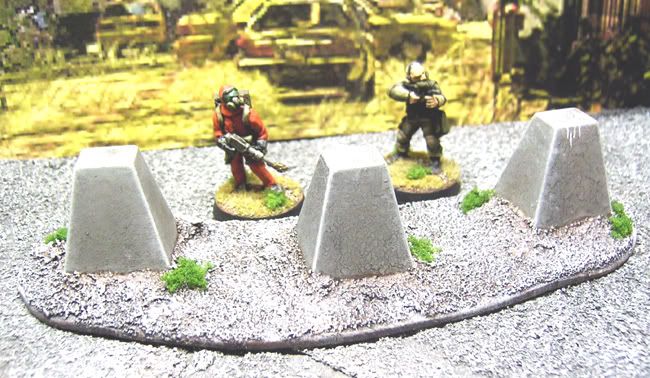
Below, you can see more detail on the finished master, with a couple of 25mm minis for scale. I am going to put a couple of the casts under the knife and add some battle damage to them. These will definitely work on my PA table. If I did 28mm WWII, they'd work perfectly there, too.
Monday, March 5, 2012
Black Delilah
Here's another clicky repurposed of a HeroClix fig. She makes for a nice femme fatale or assassin. I am not really sure what she's holding in her left hand, so I painted it up like a syringe full of glowing green...stuff.

I took these first pics and noticed some problems with the flesh tones. I have since corrected them by smoothing the colors out. Here is a quick and dirty picture of the changes.

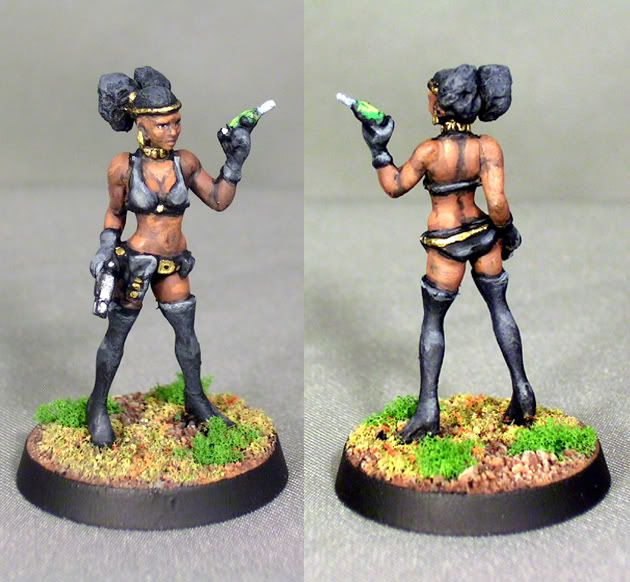
I took these first pics and noticed some problems with the flesh tones. I have since corrected them by smoothing the colors out. Here is a quick and dirty picture of the changes.

Tuesday, February 28, 2012
I got a Zuzzy, I got a Zuzzy...
 |
| Photo From Zuzzy.com |

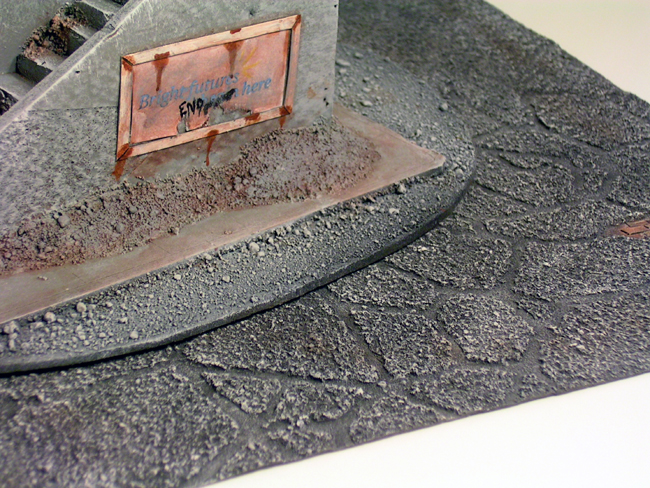
Finally, I wanted to make sure that everything matched I broke out one of my finished TEOTWAWKI pieces and put it on top. It all matched up well, although I may need to rethink my basing on future pieces. I can work the cracked look into future ones to make it more seamless.
Monday, January 9, 2012
Horrorclix Scarecrow Conversion
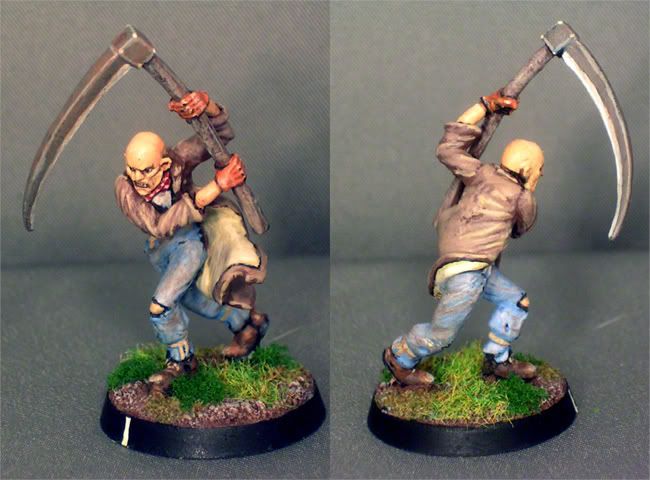
This is a re purposed Horrorclix Scarecrow figure. I swapped the head with a Mantic Ghoul head; the least ghoulish one in the lot. He's based on a 25mm slotta base and repainted. The fig turned out pretty nice. I like the dynamic pose, and the face has a suitably demented look about it.

I think it is going to find a place in my PA world, as a sort of whacked out homicidal maniac.
I think it is going to find a place in my PA world, as a sort of whacked out homicidal maniac.
Subscribe to:
Posts (Atom)