Showing posts with label Terrain. Show all posts

Monday, June 4, 2012

Hedges - Quick and Easy Tutorial

Materials
Foam Padding - Electronic Packing material (free)
Woodland Scenics Course Turf (aka Flock) - From local Train Shop ($9.99/32oz Shaker)
Large Freezer Bag - Pilfered from Kitchen (free)
Spray Adhesive - From Hobby Lobby ($3.00)
Spray Matte Finish or Clear Varnish(not pictured) - From Hobby Lobby ($3.00)
Sharp Knife (not pictured)- For cutting foam
Disposable gloves (optional/not pictured) - Pilfered from work

Step 1 - Cutting The Foam
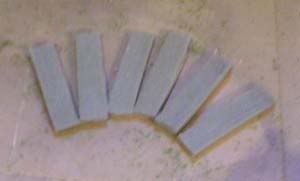
Start by cutting the foam into strips. The strips can be any size you wish. In this example, I am making hedges for use with 28mm figures. The foam strips measures roughly 4.5in x 1.25in x .5in. Cut them slightly smaller than what you want the final hedges to be; I will explain in a bit. Also, they don't need to be exactly the same size. Variation is good.


Step 2 - Texturing The Foam
Take your thumb and forefinger and start tearing chunks of foam off the strips. You'll want to do this along all the edges, and randomly across the flat sides. They should look as below:
 Step 3 - Applying the Flock
Now we need to turn the foam strips into our hedges. Fill the freezer bag about half full with the flock. In this case, I am using a 50/50 mix of Woodland Scenics Light and Medium green. One at a time, liberally apply each foam strip with spray adhesive. I wear the gloves at this point, because it can get rather messy, if you don't. It's up to you, though. Then take the foam a put it in the freezer bag. Give the bag a good shake, so the foam is completely covered with flock. This is where cutting them smaller comes into play. As it sticks to the foam, the flock will make the finished hedges that much larger than the foam. Place the hedges to the side to dry.
Sorry for the blurry pic. It's hard to get good help at 8AM on a Saturday around my house :-)


Step 4 - Finishing The Hedges
After the hedges are sufficiently dry (tacky to the touch is OK), liberally spray them with the Matte Sealer, or what ever you wish to use. I used Krlyon Oder Free/Clear Finish (the small can in the middle) that I had from a previous project. This will act to keep flock from coming off as the hedges are handled.

Basing the Hedges
At this point, the hedges are done, and ready to based as you wish. I usually base my on large craft sticks that have been finished as described in my Basing "how to" here on WTL:
Figure Basing - Basic Technique
The hedges can also be used as part of a larger display, if you wish
Finished Examples
Below, as some close of of some finished hedges (prebased) of different sizes:
w/ 28mm GW Space Marine
w/ 25mm Cowboy and 20mm Liberation Mini
All in all, it took me about 25-30 minutes (including drying times) to make the six hedges in the tutorial. This is a simple project, and is very quick and easy to do.

Monday, May 14, 2012

TEOTWAWKI, Another Ruin For The Table

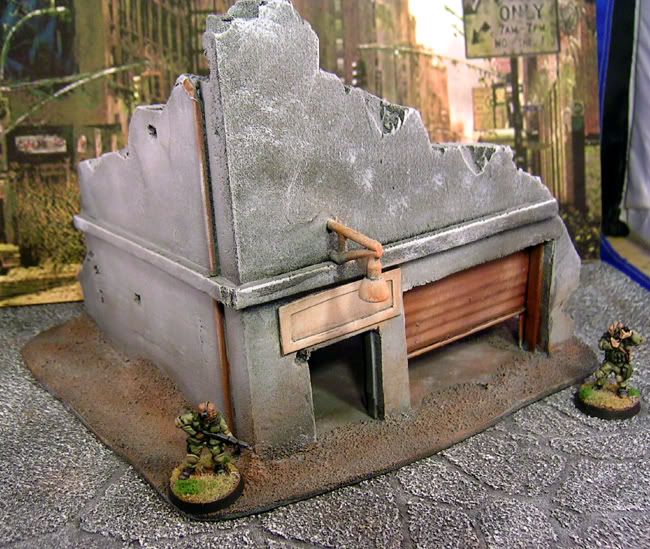
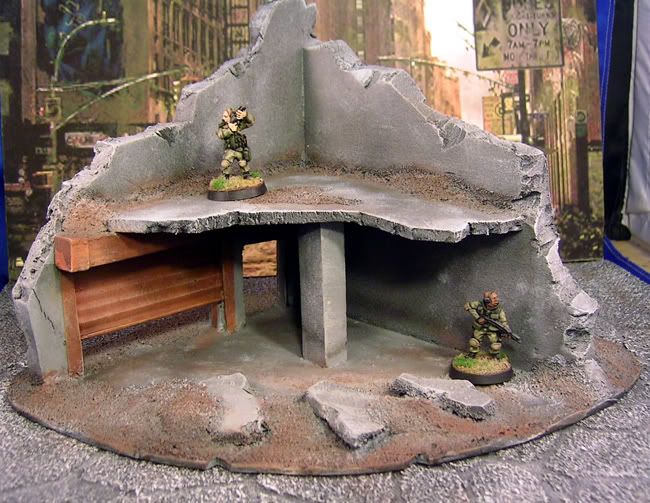
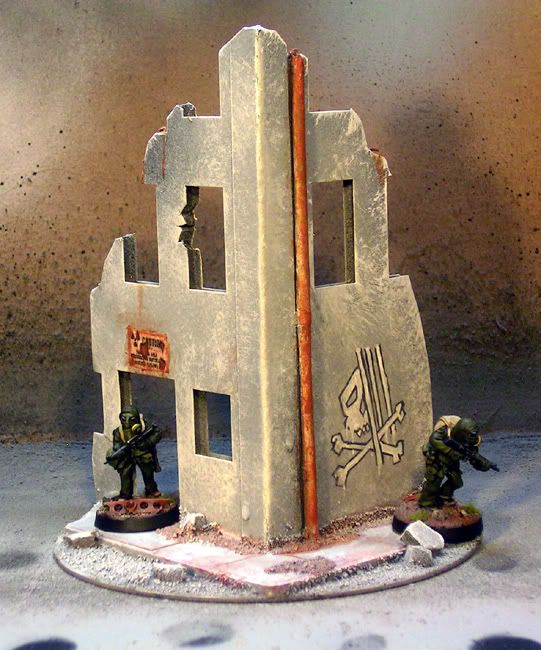
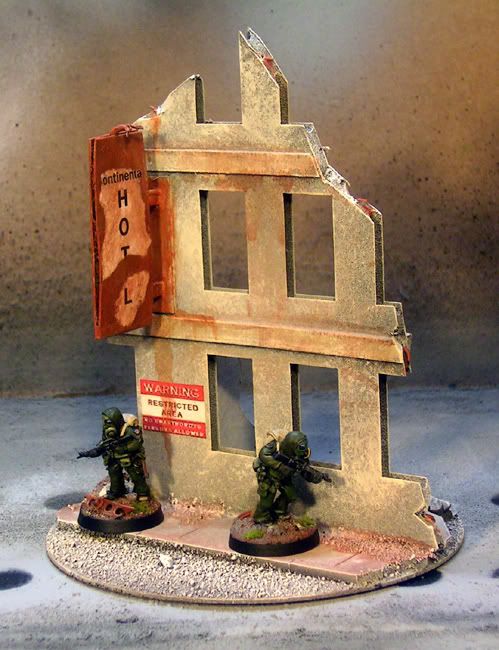
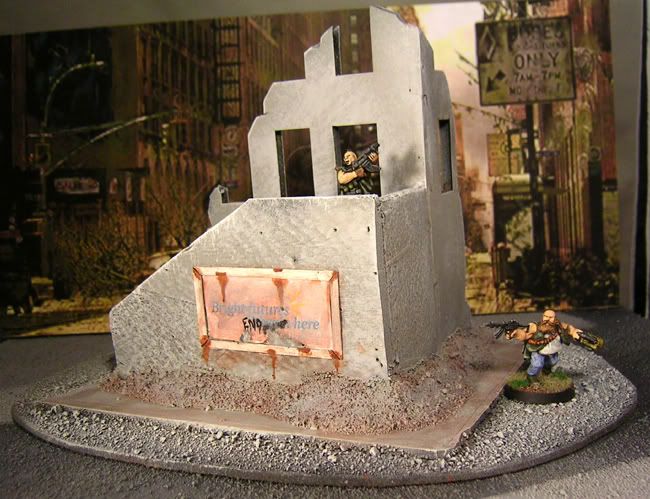
Here's another ruin for my post apocalyptic table. It's the corner of some long destroyed garage, or warehouse.  I haven't decided what is going on the sign, yet.


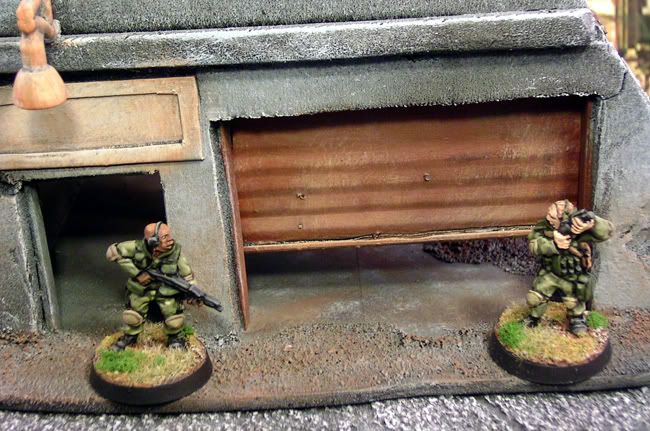
Here's a close up of the roll up door.  I actually bought a scrap booking tool, so I can make corrugated metal, anytime I want:-)

Tuesday, April 3, 2012

Making a Flying Base

I promised to make a tutorial on how to throw together a flying base over on Welcome To Lazarus, which I posted today.  I've reposted it here, in case you don't follow my other blog.  It's a simple process which can turn out nice looking and very functional accessories for your table

Materials:
You'll need the following:
Fender washer or CD; depending on the scale of your aircraft.  The process is the same, despite the scale.
Wire Hanger, or Bendable Metal Rod
Glue; Both SuperGlu or HotGlue will work
Modeling Clay
Sand
Rocks; optional
Earthtone Paints
Drill with a bit as big as your wire
Side-Snip Wire Cutters

Step 1:
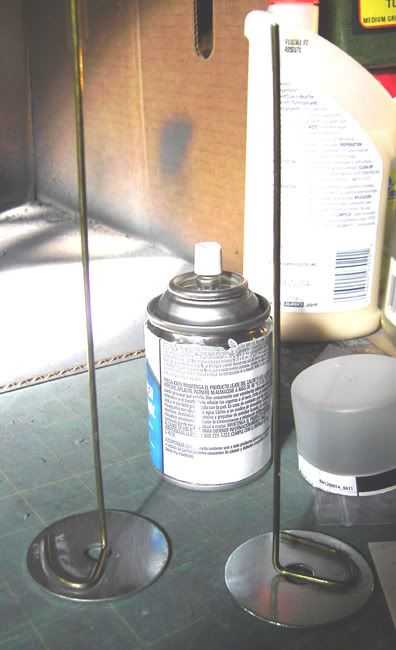
The first thing you do is cut the wire hanger to the length you want. For 15mm, I use about 10-12 inches.   Make a hook in one end of the wire, then make a 90 degree bend in it.  See the photo below to get an idea of what it should look like.

 The Results of Steps 1 and 2

Step 2:
Use your glue to attach the wire to fender washer or CD.  The larger the loop you made, the more contact area you have with the base.  It's a good idea to try to make give the wire as much contact area as possible.

Step 3:
Take your drill and drill a hole in the bottom of your aircraft.  It's a good idea to try and make it close to the center of gravity as possible, as this saves you some hassle making sure the model is stable when on the base, later on.  Test fit the aircraft to the wire.  At this point, I've seen people go all out, making sleeves that the wire fits into, or adding magnets.  That's great, if you want to do the extra work.  At smaller scales, though, it just doesn't seem worth it.

Step 4:
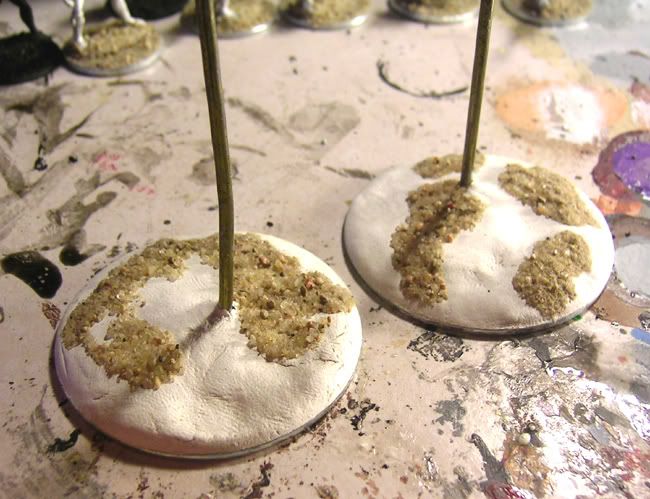
Once the glue has dried, take your modeling clay and build up the base. You can add any details you want. I use small rocks and sand.  I've seen people use a lot of other things, as well.  I even saw one base that had a house on it, with the wire running up through a smoking chimney!  If you need a bit of extra weight, to stabilize the base when the aircraft is attached, this is when you do it.  Use the optional rocks to give the base the needed heft.

 Step 4 Complete

Step 5:
The last step is to paint the base.  I use the same technique I use on my mini bases, only on a larger scale.  In a nutshell, I prime the, black (masking the wire in the process), then use my earth tones to give it color and pick out details.  Finally, I add flock and static grass.  I've seen people add trees and bushes, too.

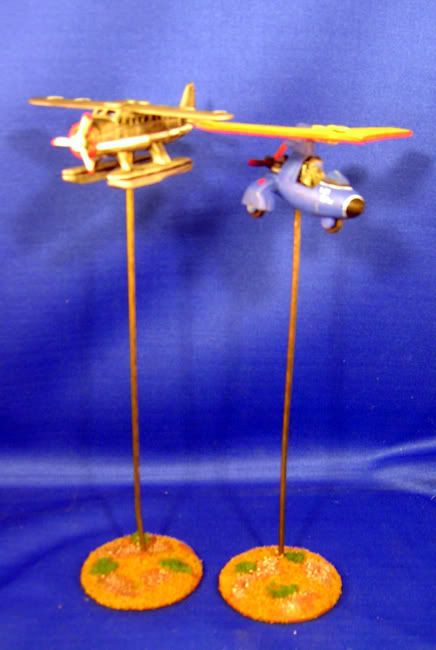
The Finished Product

To use the bases, simply slide the aircraft on and off the wire when needed.  Pretty simple and quick to do.

Monday, March 12, 2012

Casting My First Terrain Pieces

For my birthday last year, my kids bought me an Alumilite Casting Kit; the really nice one.  I had mentioned that I wanted to give it a try; I admit I was left scratching my head on exactly what to do with it, though.  I did want to have a try at casting; I just didn't have anything in mind to cast at the moment.  That was 7 months ago.  Until a couple of days ago, it sat on my shelf unused.

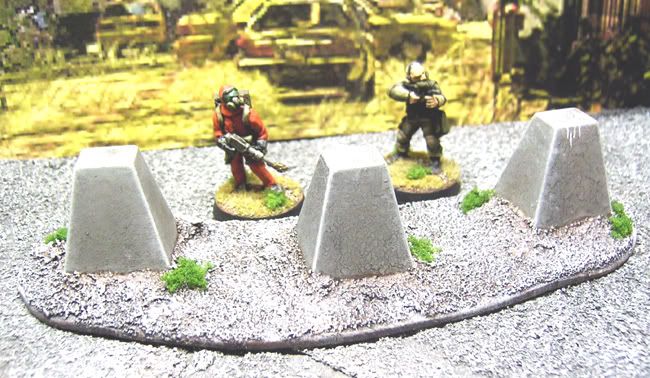
I was mulling over filler piece ideas for my TEOTWAWKI project.  One of the ideas I came up with was dragon's teeth, you know those big concrete anti-vehicle things.  Nothing says war zone more than they do, right?  So I set out and made a piece with three of them on it.  As I was sitting there looking at it, contemplating how to paint it, I was struck with the idea that it made a perfect piece for me to try and cast, so I broke out the kit.

(This next part is going to be old hat for those who have done casting, before.  My hopes are that any novices will see how easy it is and give it a try.  Plus I like hearing myself talk...or type as the case may be.)

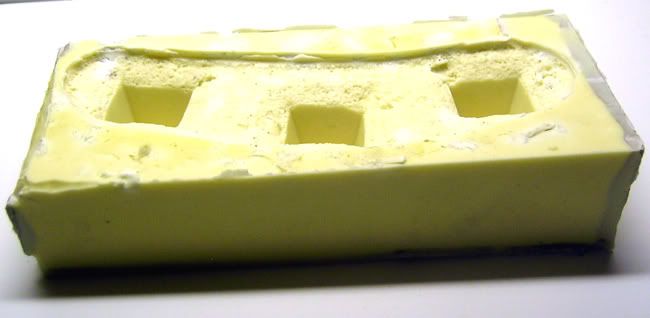
The first thing I did was make a mold.  I ended up using all the RTV Rubber supplied in the kit to make the mold.  RTV is short for "Room Temperature Vulcanizing"; meaning that the rubber cures at room temp; no special curing processes needed. To actually, make the mold, I made on open top box big enough to hold what was now my master.  I sealed the master with clear varnish, and affixed it to the bottom of the box.  I then mixed the RTVR per the instructions, and poured.  I removed air bubbles that had formed when mixing the rubber, by placing the now filled mold on my table, then taking my jig saw, turning it on and holding it against the bottom of the table.  The vibrations caused the bubbles to float to the surface.  It would probably be easy to make a vibrating table with an old palm sander.

I was able to remove the box after about 4 hours.  I let the mold cure over night.  The discoloration in the pic are due to two things.  The grey is the clay I used to seal the inside of the box and the white is due to not mixing the RTVR thoroughly.  Neither one of which caused an issue.  Next time I make a mold, I am going to use something like pink foam to act as a filler, so I don't use as much RTVR.

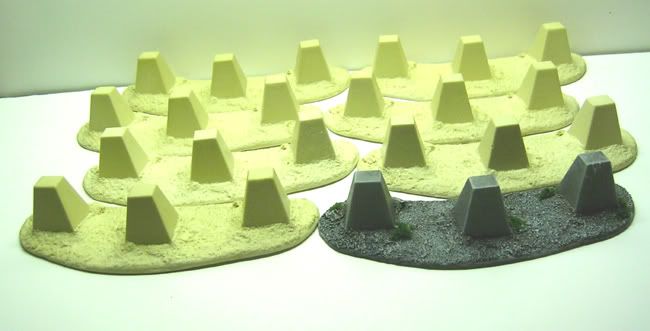
The following morning I set about making some casts.  Following the directions I mixed the 2 part resin.  I ended up wasting about 1/2 of what came in the kit, trying to figure out how much to use in the mold.  I mixed WAY too much on the first couple of attempts.  It took a lot less than I anticipated.  One thing about the resin, once you start mixing, there is no going back.  It starts setting in about a minute.  It is a big time saver, as I was able to turn out a workable cast in about 15 minutes; that from mixing to final sanding.  In the end, I was able to get 7 casts in less than 2 hours time.  That is a lot less than it would have taken making them by hand.  Plus, they are a lot more durable than the original master.  The picture to the left shows the casts, along with the painted up master.

Below, you can see more detail on the finished master, with a couple of 25mm minis for scale.  I am going to put a couple of the casts under the knife and add some battle damage to them.  These will definitely work on my PA table.  If I did 28mm WWII, they'd work perfectly there, too.

In the end, I learned a lot and had an enjoyable time  to boot.  I think I may remaster this piece; changing dimensions ans adding a bit of detail.  Also, I have to work out the fiscal aspect of casting more, and different items.  The RTVR and resin can be a bit pricey.  If the costs work out right, hopefully I can finance casting stuff for my own table by selling stuff to others for theirs, if not put a little extra change in my pocket.

Thursday, March 8, 2012

TEOTWAWKI: Wrecks

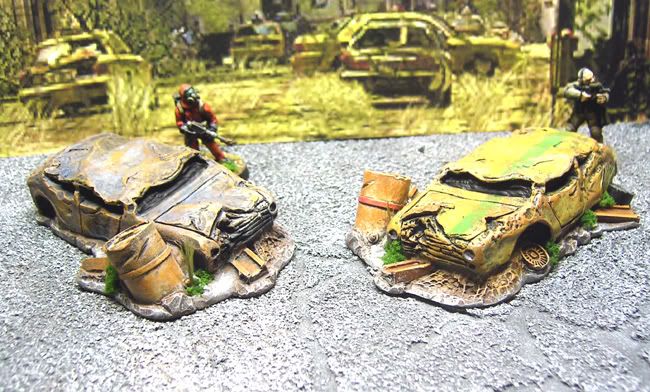
I purchased a couple of sports car wrecks from Firedragon Games, recently.  I threw some paint on them last night.  I finished them up by adding some coarse turf and some weeds to make them look suitably ruined and abandoned.  They'll make great filler for my PA table that is taking shape.  Here's a pic of them, with a couple of 25mm figs for scale.


They are a little small; they are sports cars, though.  The angle of the pic makes them look smaller than they are, for some reason.  They do fit well with my 1/43rd scale vehicles.  They are appropriately wrecked, too.  Aside from washing them, I didn't have to do any prep work on them, as the casts were very clean.  They cost me about $8.00 each, which isn't too terribly bad. All in all, they were a good purchase.

On a side note, the shopping cart at the Firedragon site didn't discount the VAT as it should have. Paul from FD Games sent me an email telling me about it.  He threw in a sandbagged position with my order to make up for he extra charge.  I wouldn't have know the difference; yet he did so, anyway.  That's the type of business ethics that makes companies worth dealing with, so consider FD Games highly endorsed by me.

Thursday, February 23, 2012

TEOTWAWKI - Ruined Storage Tank Facility

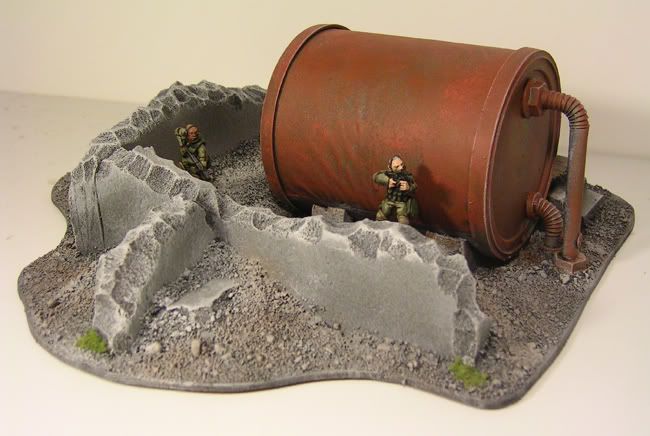
Here's another finished terrain set, with the center piece being a rusty storage tank.  The walls surrounding the tank create a trench like setting, affording figures covered movement and protection.  I am going to make some outer wall pieces, in order to make  this a more complete defensive position.


Thursday, February 16, 2012

Thursday, February 9, 2012

TEOTWAWKI - Blasted Ruins WIP, Pt 5

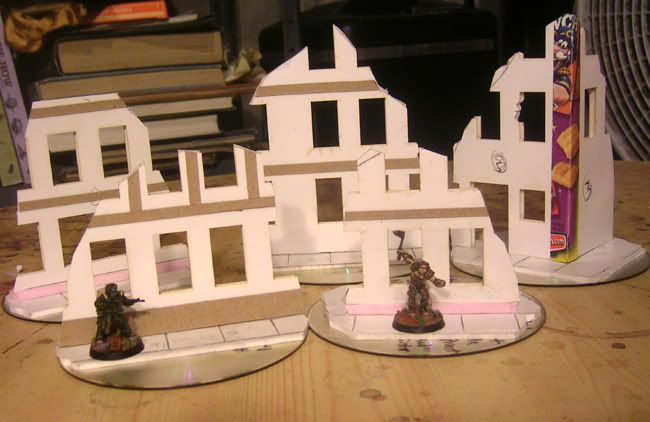
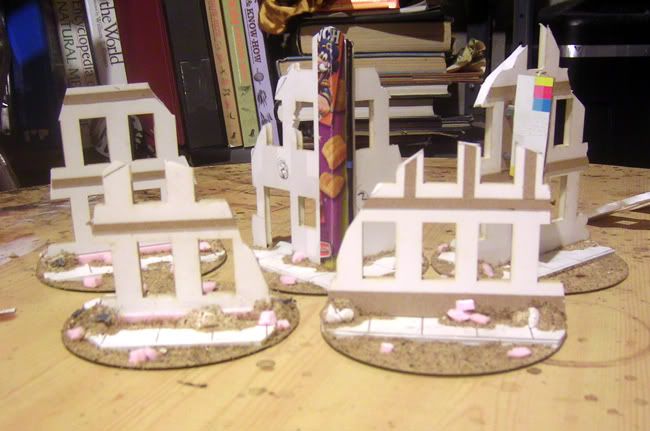
These pieces were actually the first pieces I built and painted.  They were posted over on the Post Apoc Wargames Forum a couple of months ago, and I thought now would be a good time to bring them together with the rest of the ruins.  Keeping with the flow of things, I'll post the WIP photos, then the finished ones next week.

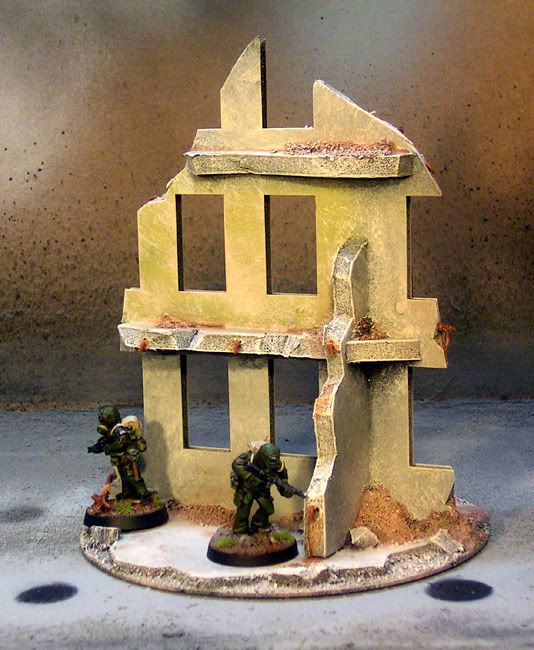
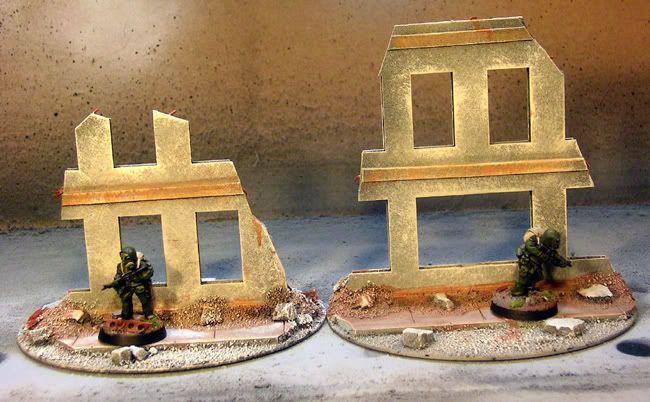
These four stand alone walls and one corner piece  are mounted on CDs  I used pink foam on  a couple of them, in order to give the ground level wall more height.  Detailing is done with various strips of cereal box, straws, hunks of foam-core and pink foam, and bits of wire. 

The miniatures in the photos give a good sense of how tall the levels in the Gamecraft building are.


Thursday, February 2, 2012

TEOTWAWKI - Blasted Ruins WIP, Pt 4

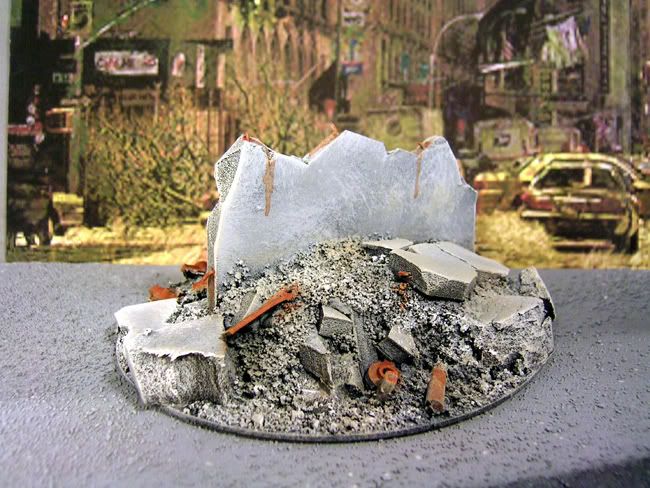
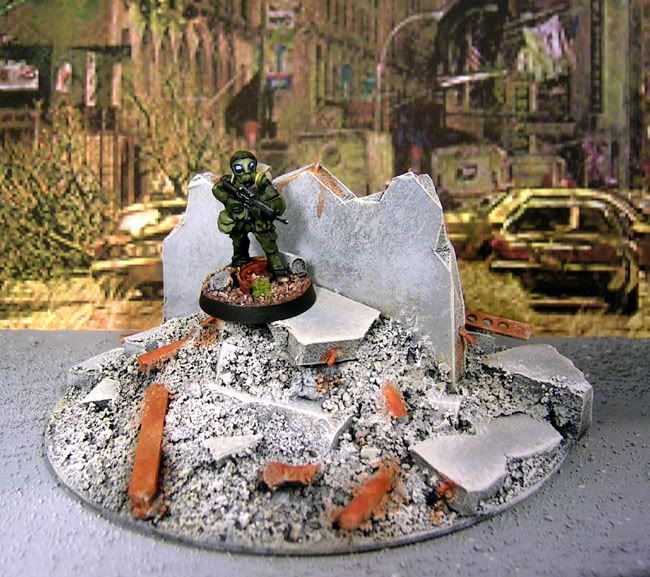
I made up a couple of test pieces, to see if what I had in mind was easy to do and feasible.  The first idea was to make some rubble piles to intersperse amongst the ruined buildings.  I threw one together using a CD, DAS Modeling Clay, Foamboard, Pink foam, Sand and other bits and pieces.   I like the way it turned out, and it was definitely easy to make and paint.  Now, I just need to make about 5-8 more of these:

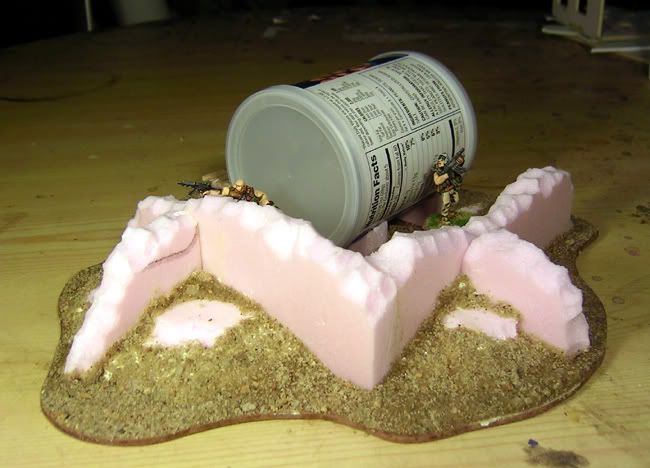
Next, I wanted to create some sort of trench like system, so I made some walls and storage tank.  I filled the voids with debris, and viola, a sunken area to move through; like a trench.


Playing around with this piece, I think I am going to make some small stand alone pieces to put around this to make it look like a complete ruined building, vs just the tank interior walls.

Thursday, January 19, 2012

TEOTWAWKI - More Blasted Ruins Painted

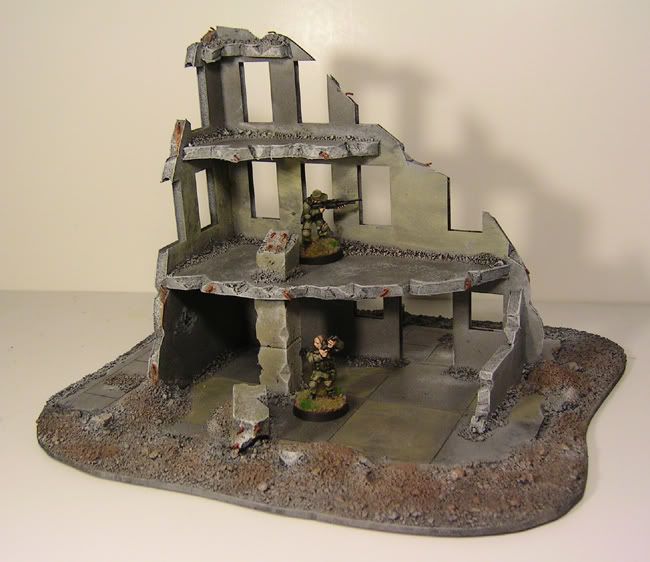
Here are three more ruined building pieces, made from the Gamecraft 6 story foam board building.  This line of pre-cut buildings is a great base to use for your ruins.  The uniformity of the doors and windows are a good contrast to the broken edges of the ruins.
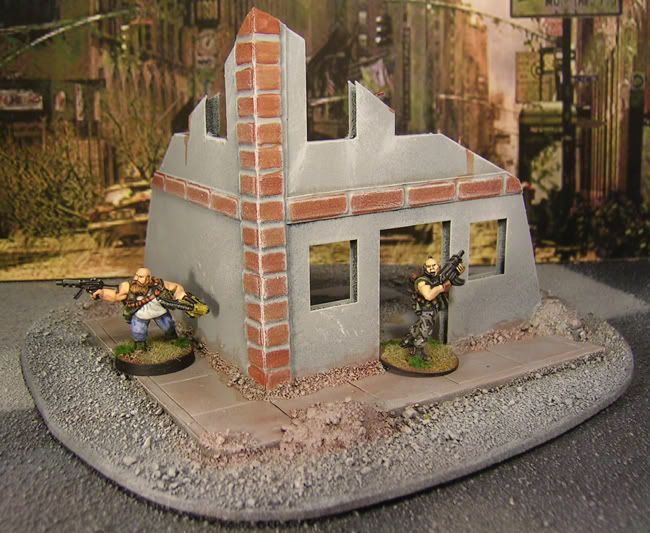
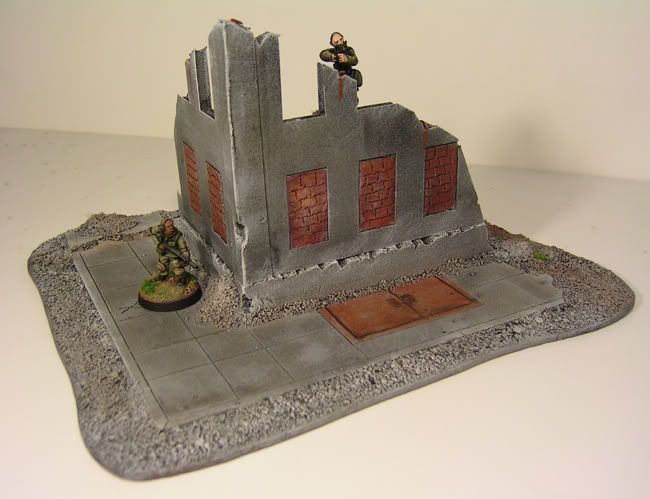
Corner piece with bricked up windows.  The rusted cellar doors are carved in to the base. 

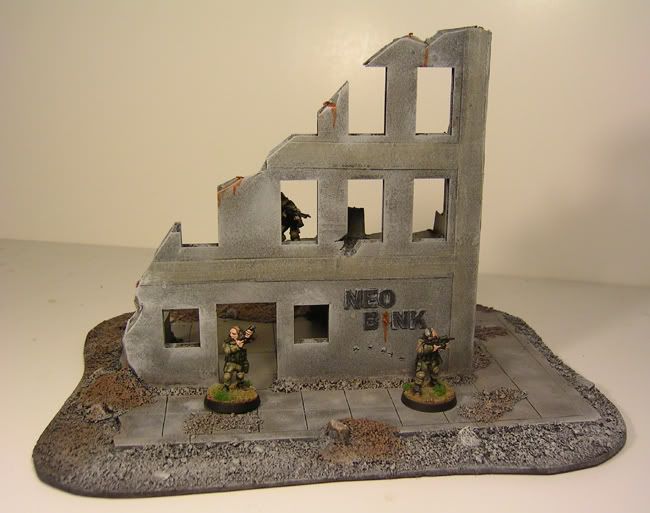
Large three story ruin.  The bank signage letters are cut from a cereal box to give them a bit of relief.

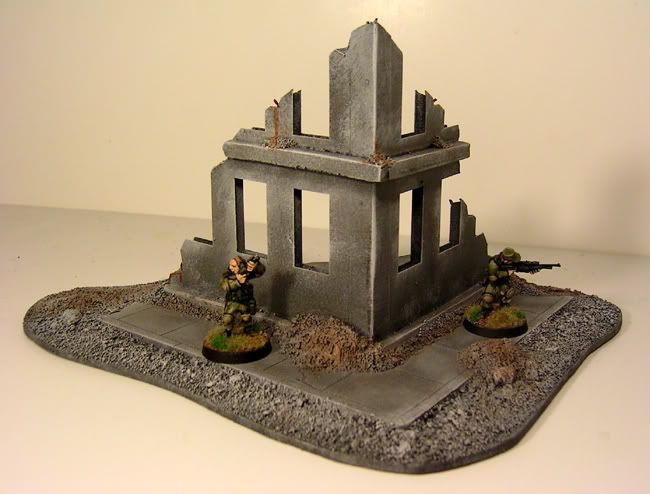
The last piece is a simple corner piece, with the details and floor slab made from pink foam.

Thursday, January 5, 2012

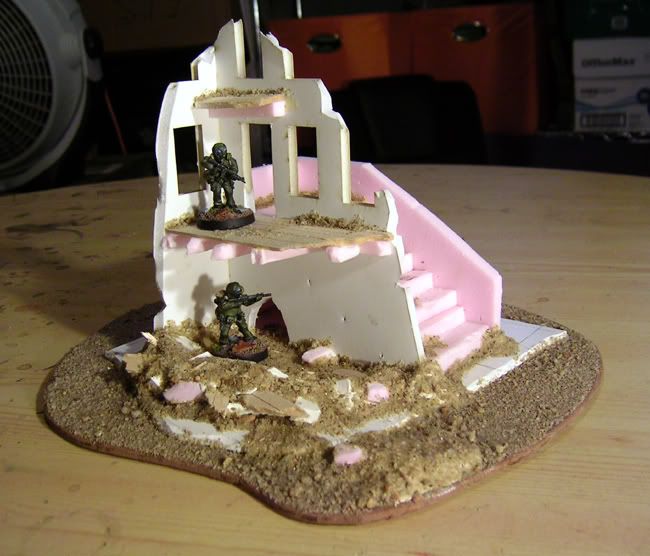
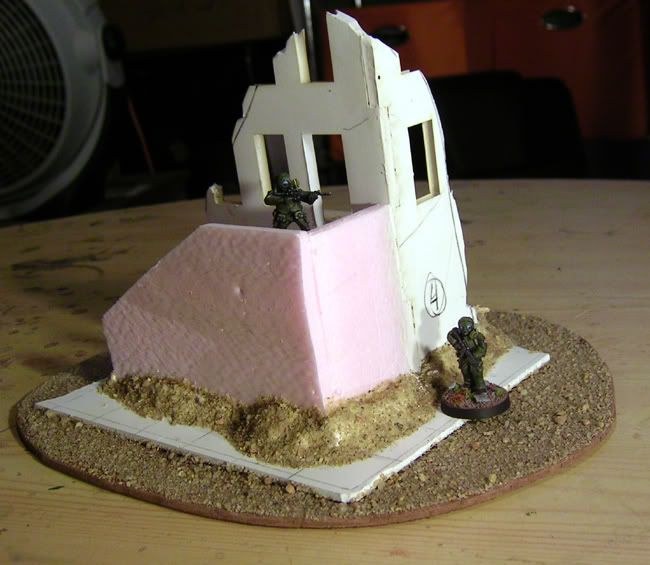
TEOTWAWKI - Blasted Ruins First Look

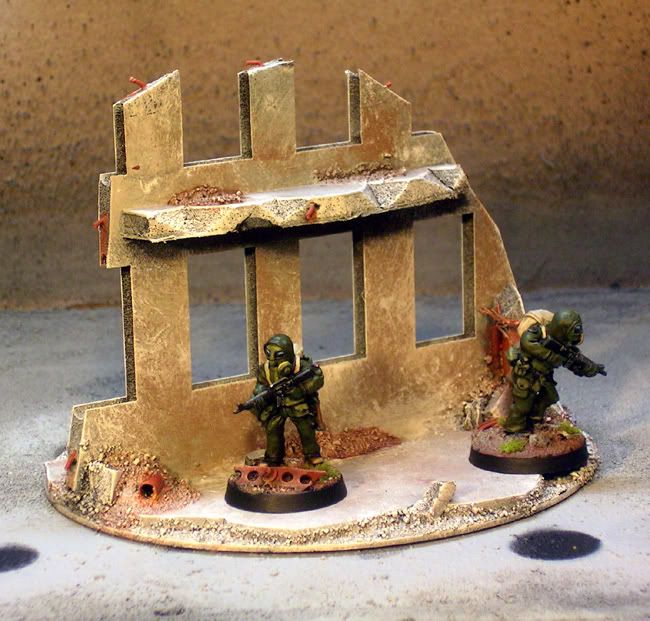
Here are the pieces from the last week's TEOTWAWKI post painted and ready for the table.
 
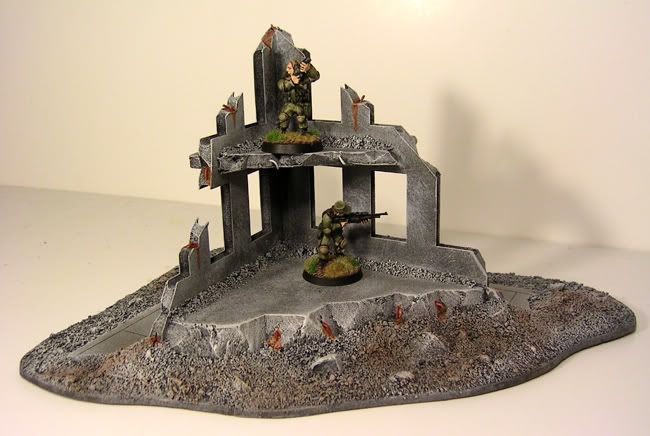
A simple corner piece


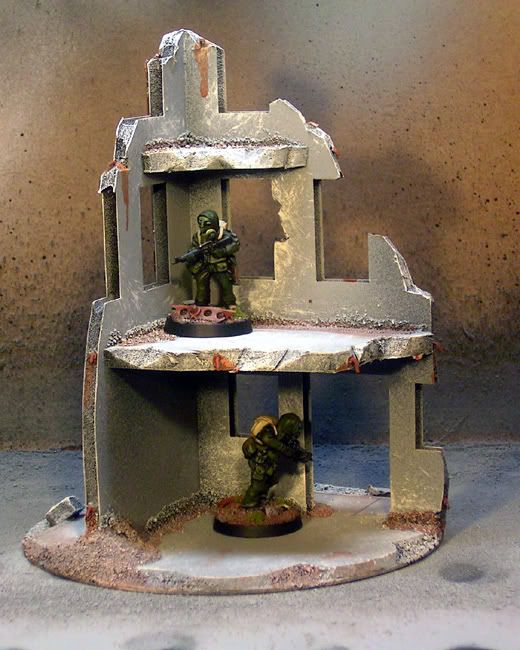
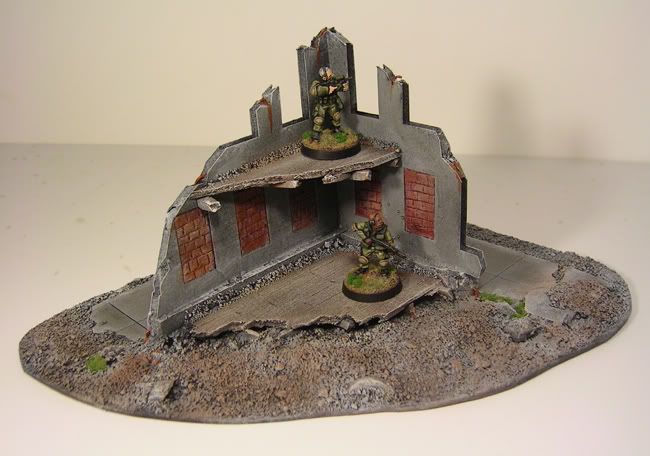
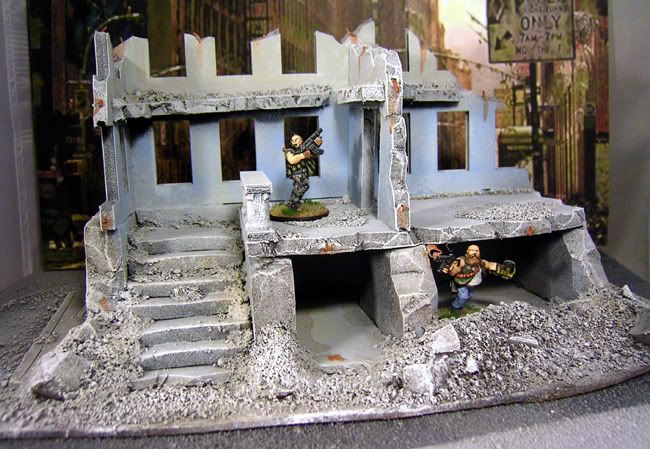
Multi-story piece with removable upper level.

Corner stairs piece

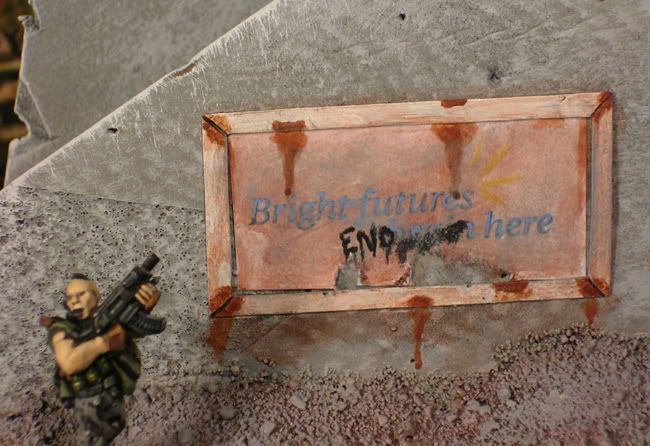
Someone doesn't have a very positive attitude
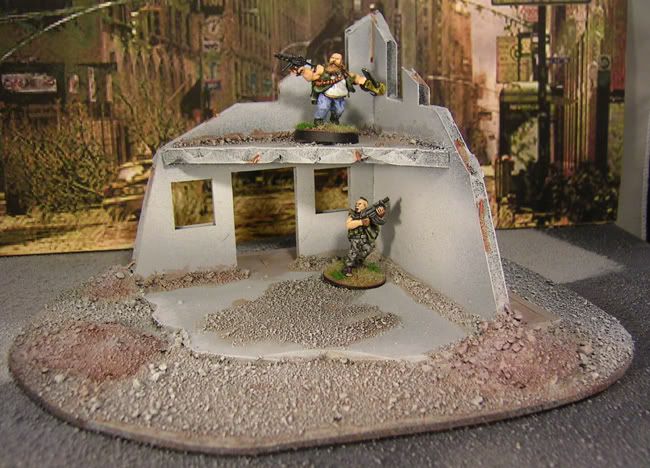
Someone, or something, created that hole in the foundation...

Friday, December 23, 2011

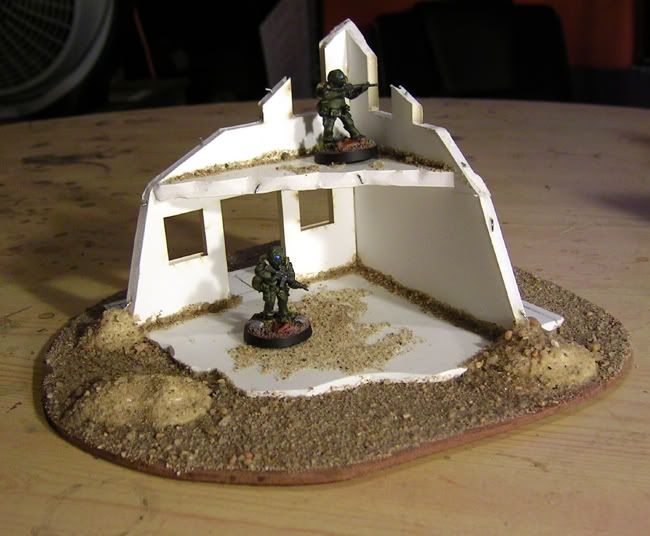
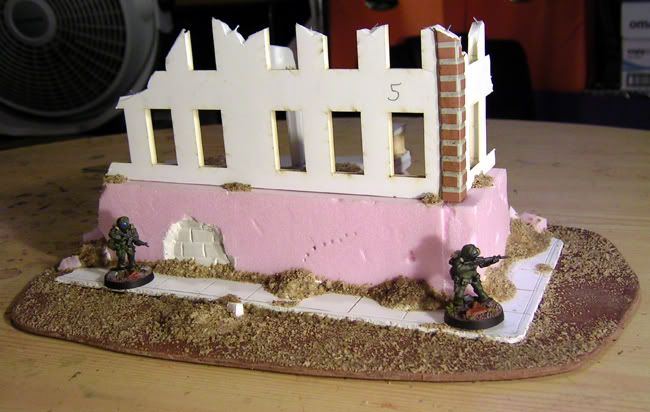
TEOTWAWKI - Blasted Ruins WIP, Pt 2

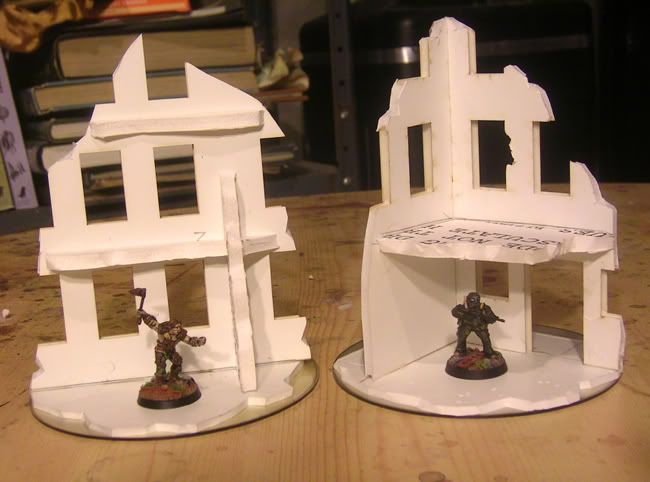
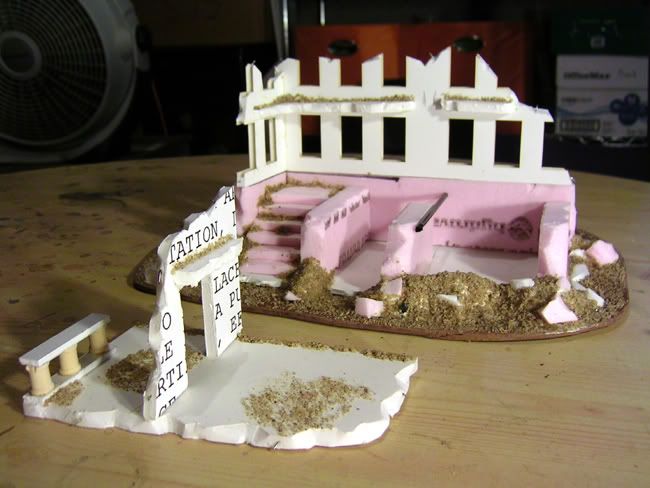
Prepped some more ruins for painting. These are actually the second batch I' readied for painting.  The others, which have previously been post on the Post Apoc Wargames Forum will be posted here on ZSS sometime in January.


The upper floor of this piece comes off, so that figures can be placed in the basement.  It's cramped so no large figures won't fit; making it a good defensive position, when hiding from big nasties.