
Materials:
You'll need the following:
Fender washer or CD; depending on the scale of your aircraft. The process is the same, despite the scale.
Wire Hanger, or Bendable Metal Rod
Glue; Both SuperGlu or HotGlue will work
Modeling Clay
Sand
Rocks; optional
Earthtone Paints
Drill with a bit as big as your wire
Side-Snip Wire Cutters
Step 1:
The first thing you do is cut the wire hanger to the length you want. For 15mm, I use about 10-12 inches. Make a hook in one end of the wire, then make a 90 degree bend in it. See the photo below to get an idea of what it should look like.
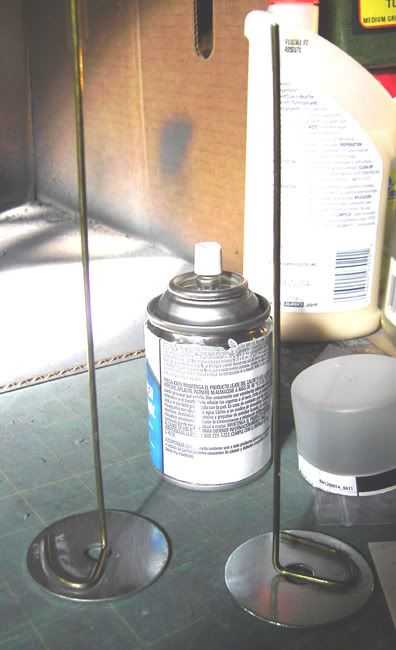
The Results of Steps 1 and 2
Step 2:
Use your glue to attach the wire to fender washer or CD. The larger the loop you made, the more contact area you have with the base. It's a good idea to try to make give the wire as much contact area as possible.
Step 3:
Take your drill and drill a hole in the bottom of your aircraft. It's a good idea to try and make it close to the center of gravity as possible, as this saves you some hassle making sure the model is stable when on the base, later on. Test fit the aircraft to the wire. At this point, I've seen people go all out, making sleeves that the wire fits into, or adding magnets. That's great, if you want to do the extra work. At smaller scales, though, it just doesn't seem worth it.
Step 4:
Once the glue has dried, take your modeling clay and build up the base. You can add any details you want. I use small rocks and sand. I've seen people use a lot of other things, as well. I even saw one base that had a house on it, with the wire running up through a smoking chimney! If you need a bit of extra weight, to stabilize the base when the aircraft is attached, this is when you do it. Use the optional rocks to give the base the needed heft.
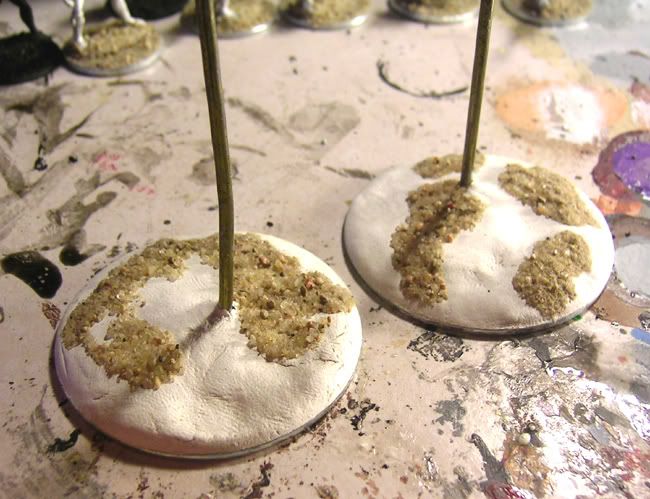
Step 4 Complete
Step 5:
The last step is to paint the base. I use the same technique I use on my mini bases, only on a larger scale. In a nutshell, I prime the, black (masking the wire in the process), then use my earth tones to give it color and pick out details. Finally, I add flock and static grass. I've seen people add trees and bushes, too.
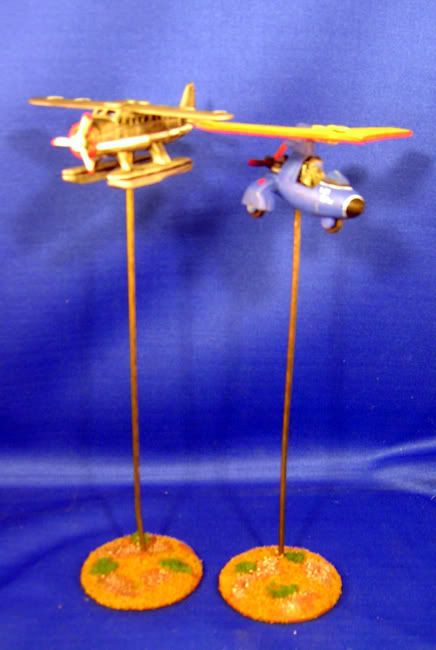
The Finished Product
To use the bases, simply slide the aircraft on and off the wire when needed. Pretty simple and quick to do.
No comments:
Post a Comment